Gimp - Correct color levels
Introduction
-
This tutorial will help correct the color levels of a photo.
It will allow you to specify where's on the image are the whites, blacks and grays.

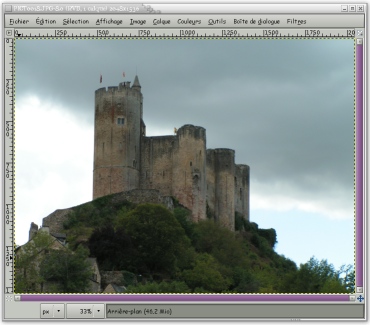
Loading an image from the hard-drive
-
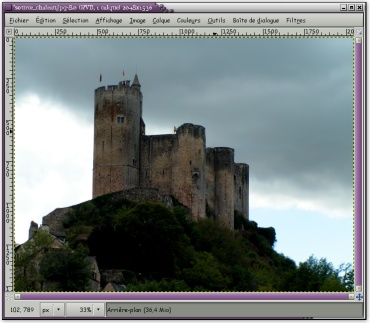
From Gimp file menu, open your source picture.
Levels correction
-
From the Colors menu, choose Levels.
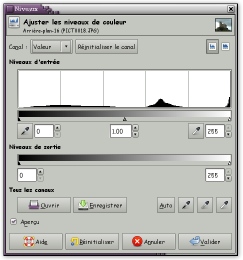
In the window that opens, click on the left eyedropper to select the black level.
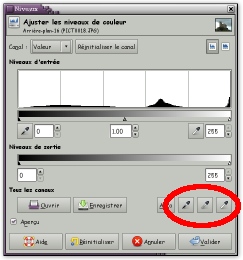
Then click on the darkest point of the image. Gimp will know where is the most black point to correct the image color.
Repeat for the white (right pipette), then, if necessary, the gray (middle pipette).
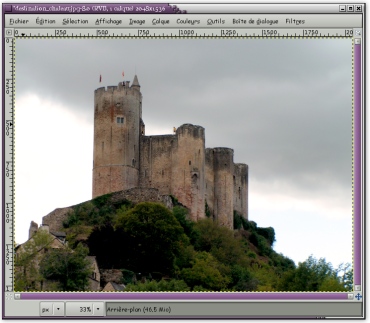
In the levels window, click OK. The colors are now corrected.
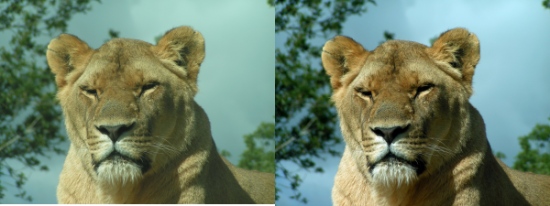
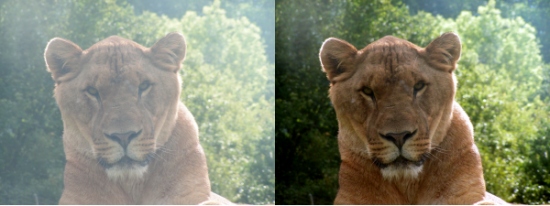
Corrected photos examples
-
Those images were taken behind a window. Bland colors are corrected.